The pattern is very simple and precise and I go on and on about it here, if you'd like to know more. It's such a great pattern.
If you're too busy to go read that link, I basically want the world to be filled with these whales in nothing but preppy, pastel colors.
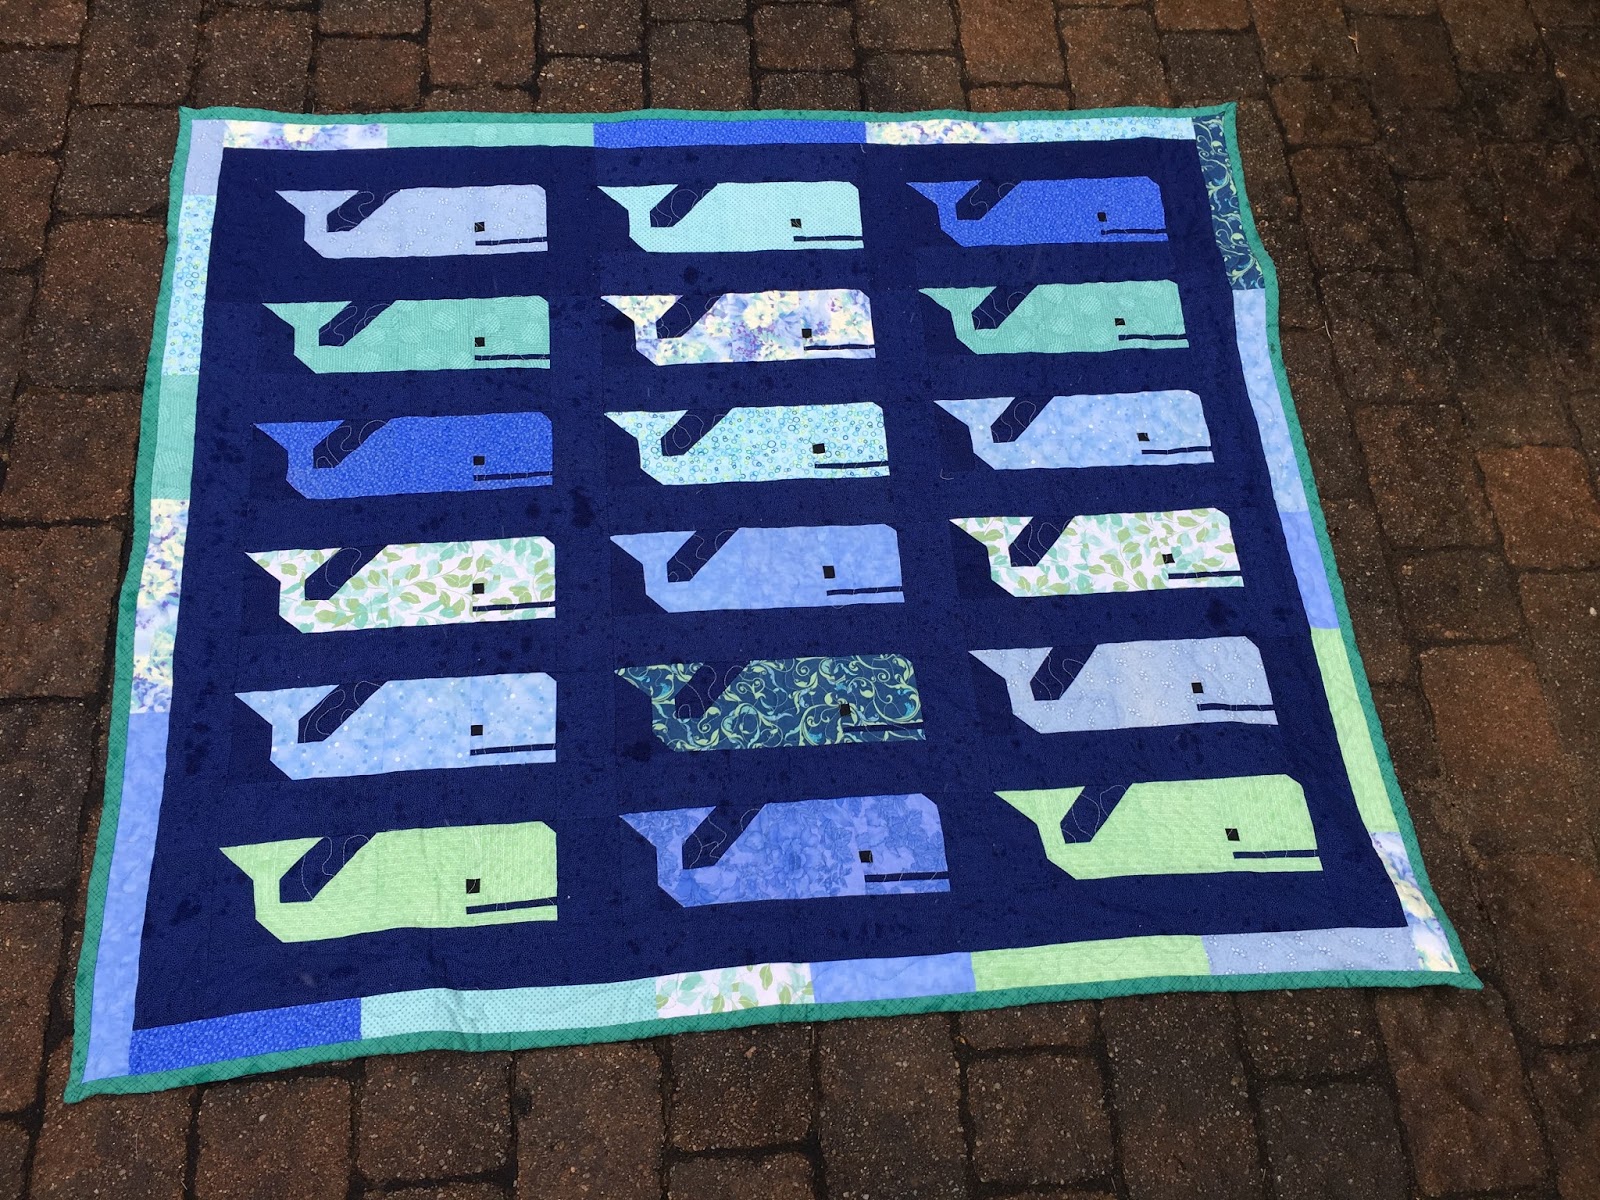
The whale is very reminiscent of the Vineyard Vines whale and if you google Preppy the Whale, you'll see people's versions of the Vineyard Vines whale from this pattern, in the appropriate colors.
For this past school year, I used a Vineyard Vines bag that k-ster got me and though the bag itself stood up really well, the cute fabric at the top, which really made the bag, rubbed off as the year went on.

There are time when a slightly bigger bag would be a good thing, so I went about making my version of a Pretty the Whale bag.
I may have a thing about denim and pink and when I saw a pile of k-ster's jeans that needed to be recycled or thrown away, it clicked. I debated a pastel pink (as I said, these whales should be pastels) but found this fuschia screaming at me. I cut up some of his jeans, serged the strips together and went around a pink whale for each side.


I needed the seams to be flat for my wild idea to work, so I hammered them first and then topstitched in pink. Hammering made a huge difference, especially on those awful bulky seams where all of the denim came together when I assembled the bag.
When I say hammer, I literally I took a hammer and banged those seams flat. I know some of you are wondering what this fancy sewing term is, but it's actually a hammer and it makes a huge difference.

I made a single pocket on one interior side, close to the top and one toward the bottom with 3 parts. If I made this bag again, I would definitely make it a little shorter. It's about 3 inches taller than I really want it to be and that 3 part pocket is kind of low.
 I ran out of the fuscia, so I needed something different for the inside. I also thought I should use something heavier than the quilting cotton that the whale is made of. I had a remnant of this home dec fabric that worked out perfectly. I had actually debated using this for the whale itself, but I thought it was too busy.
 I have no issue with the interior being a pale pink and the outside having a bright pink.
I also clearly have no issue with my pockets having accent fabric that has nothing to do with the main fabric.
Part of my plan this summer has been to use what I already have in my sewing room as much as possible. This bag was made with everything I already had, including the fusible backing I put on the exterior fabric to give it stiffness. I have no idea what it's called. I bought it in the interfacing area at Joann's and it was the stiffest thing I could find that would give a bag substantial size and heftiness. It's not padded at all but it's quite stiff and thick and irons on.
Between the denim, the stiff backing and the home dec fabric, I really doubted any machine's ability to get through it all to assemble the bag. Especially at the corners. I thought my best bet was to use my new machine since it's so new and hasn't been worn down by years of the crazy sewing I do. I used a denim needle, broke 2 of them, held my breath and did a lot of hand cranking, but got through it. And I didn't swear much, if at all.
I did sweat a little, though.
The pattern I used is from the One Hour Basket patterns that I've seen on the interwebs. The general construction is the same no matter what size you use for your actual bag, so I made up my own measurements and then used the guidelines for seam allowances as detailed in the pattern. Also, that pattern said to cut 3 inch squares out of the bottom corners of the interior and exterior so it can sit like a basket, but I knew that would be a little large. I did 2.5 inch squares and it was exactly what I wanted.
Now is where I need your help. I thought these braided handles would be coolest thing ever.


I thought they were so cute!
The straps of my original Vineyard Vines bag are in amazing condition and don't look like they've been used at all. They are the webbing that all straps should be made of on a bag that's going to be used daily.
Should I cut them off the Vineyard Vines bag and put them on this one?
Should I braid them with the pink so I can keep the cute braid but have the substance of that the webbing will provide?
I think I'm going to stay with the buttonhole for the attachment area because a) they are already there and b) they make a good anchor spot.
I'd really like your suggestions for what I should do to make functional straps so I can enjoy a little Preppy the Whale every day!
Linking here:
http://www.juliescreativelifestyle.com/
I love your super cute bag that you made! It's wonderful to have a talent with sewing and you save so much money making things yourself! :0)
ReplyDeleteThanks for sharing this at C&C with J&J.
Enjoy the weekend.
Julie xo
Thank you!
Delete