
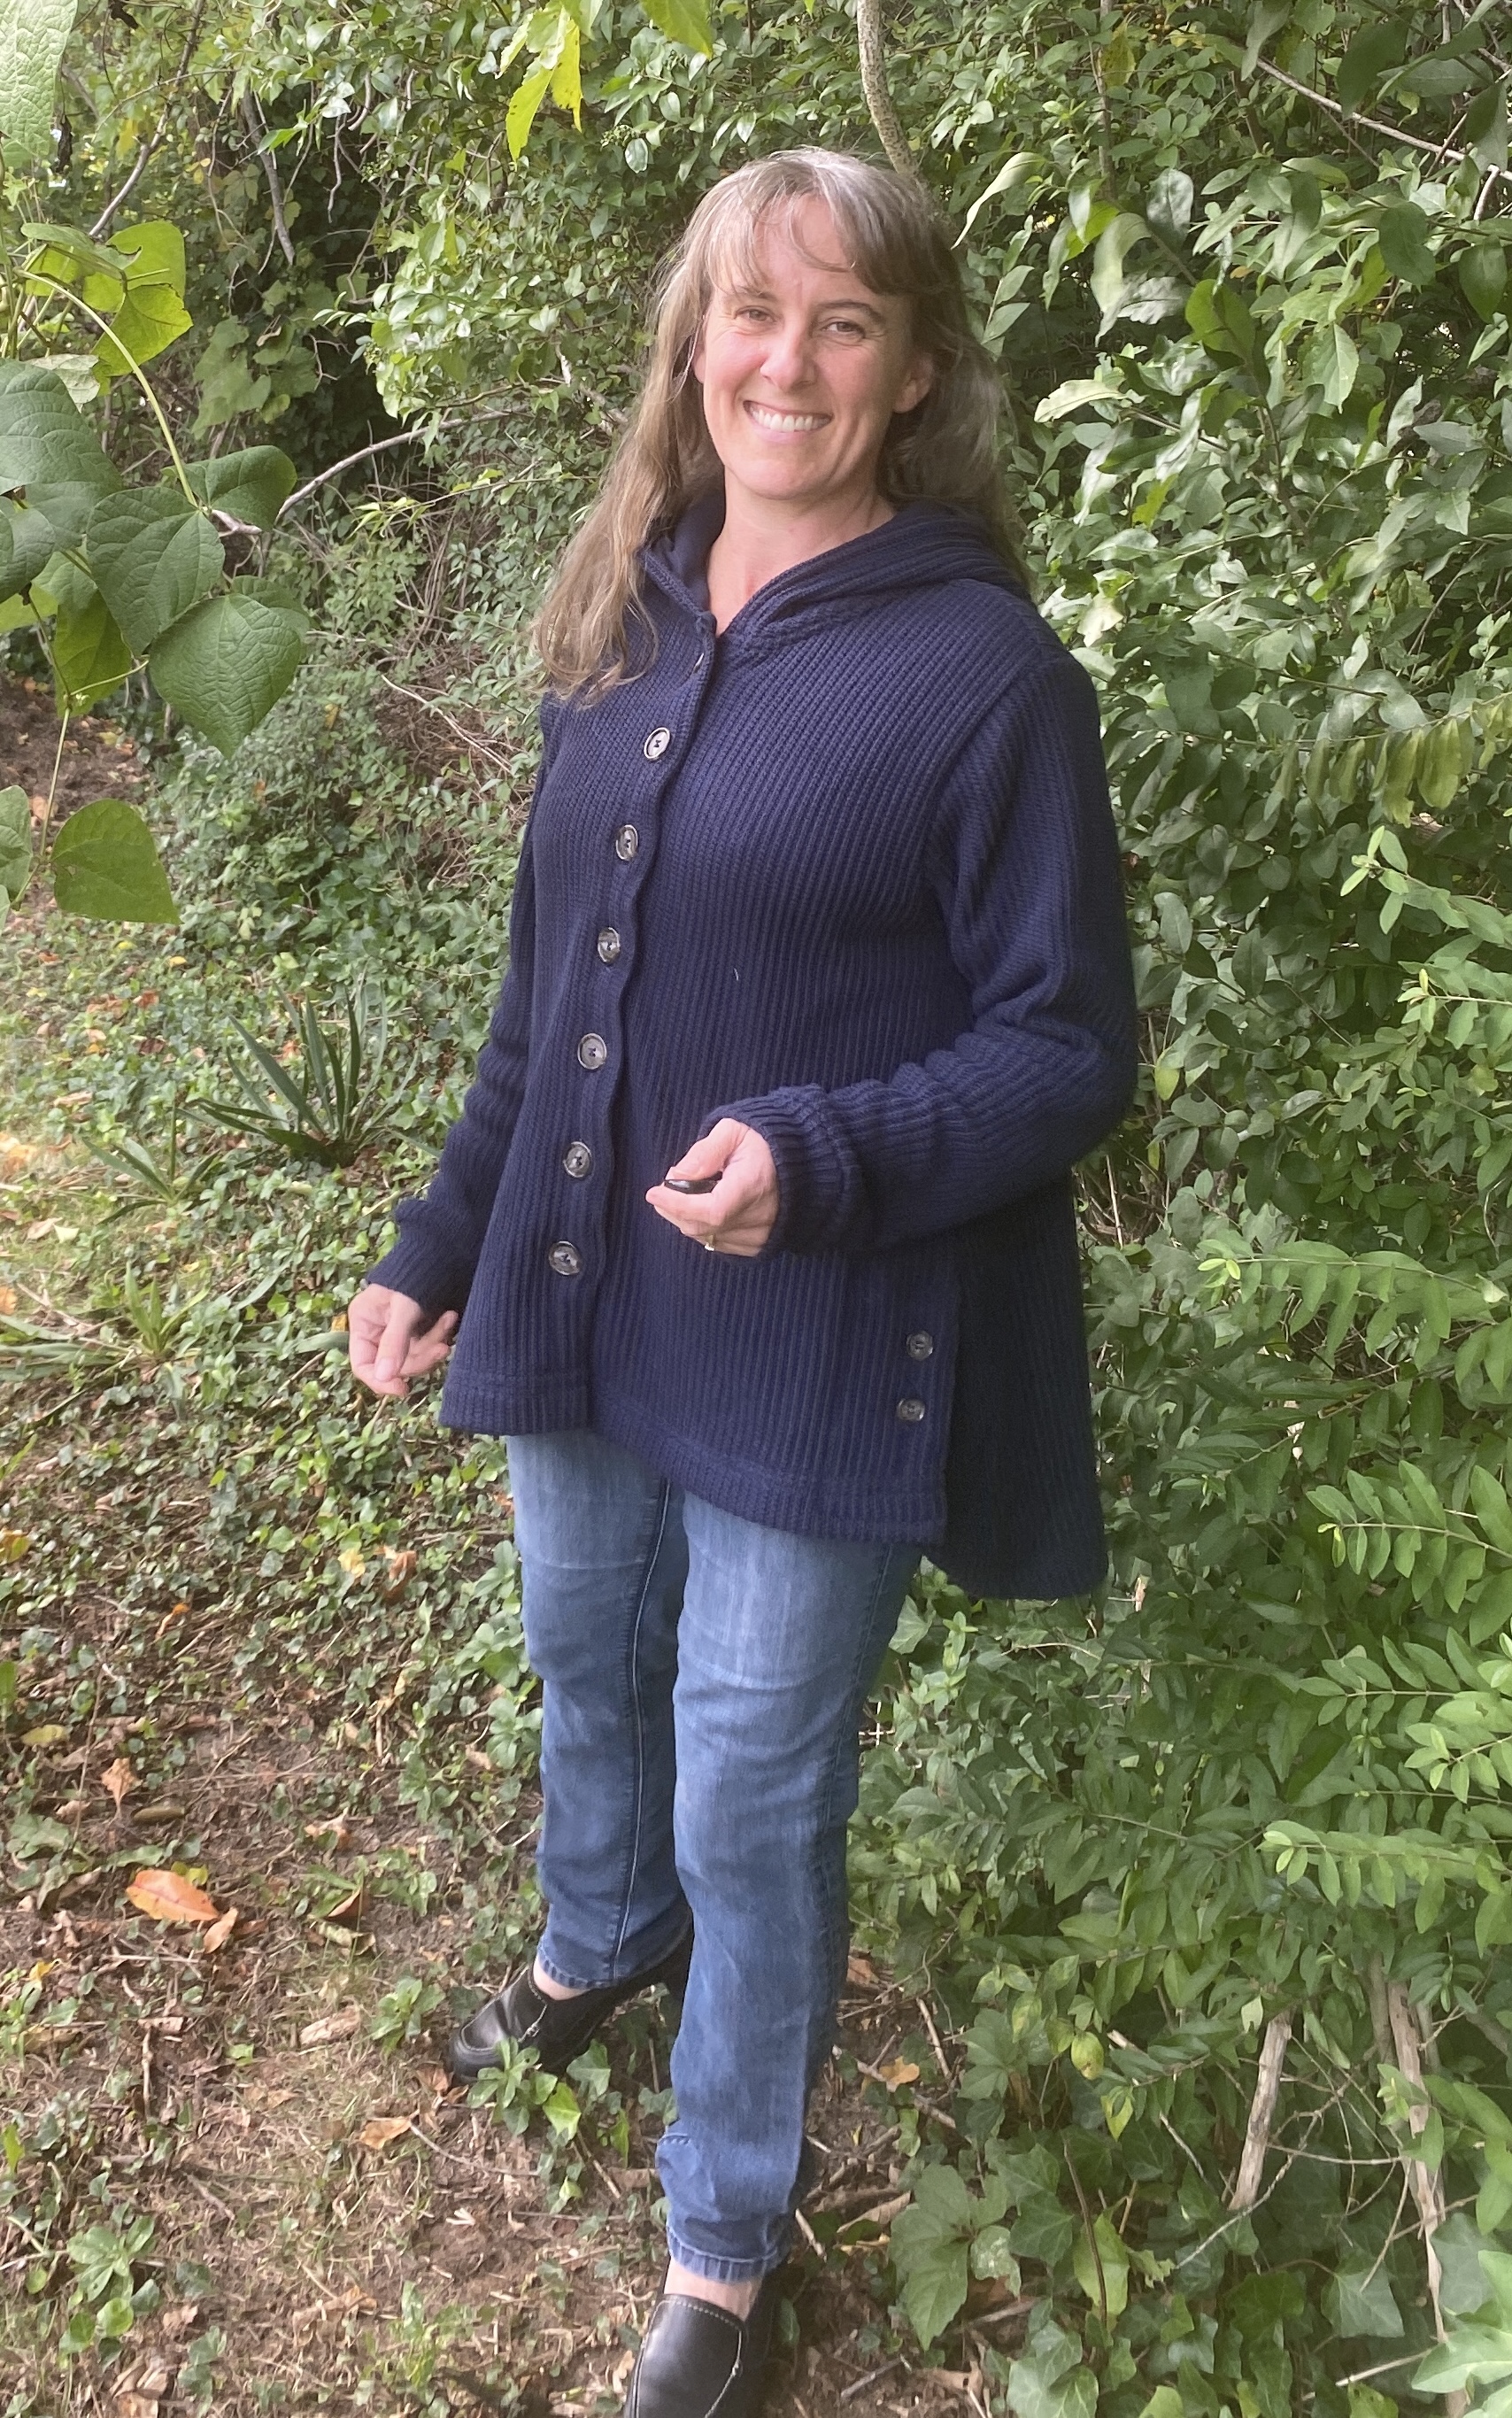
I sat on this project for a really long time. If you don’t have time to read to the end, I got exactly what I wanted and it’s possibly one of my proudest makes.
Be prepared for all the details and lots of pictures.
And then summer came and I let it go. I thought maybe I’d give up on the idea of making this kind of jacket and something else would demand to be made from the navy knit I was salivating over. When it’s super hot in the summer, it’s really hard to think about sewing cold weather clothes and hacking patterns. But about a month ago, the nagging started again in my head and I knew if I didn’t do it now, I’d never have something ready for cold weather.
I’m a fan of Hey June patterns and love the Halifax Hoodie. I’m not much of a sweatshirt wearer so my two Halifaxes will probably get me pretty far. Someone suggested using that as a base and maybe the Brunswick for the side vents.


And THEN, I almost wet my pants with glee when I realized view E has a curved hem! If there was ever a pattern I was meant to hack, this one is the clear winner because almost all of the parts are there! Little did I realize that the back of E actually comes around the sides to give those angled lines but in the long run, and that part was a very long process, it actually helped give me the swing I wanted in the back!

I couldn’t use the E Front because I didn’t want lines to go like that, so I had to ask my sibling expert how to make the C front work with the E back because the armscyes are quite different. My first muslin had a funky thing happen at the bust and armpit but I think we got it straightened out for the final!
What did people do before text messages and facetime? I know I could not sew like I do if I didn't have either of these ways to get help, ideas or just confirmation that I'm doing it the right way!

I added a little bit at the front on both sides because I wanted to fold the fabric under to make a nice solid button placket. View C is meant for a zipper and I hadn’t made it so I wasn’t sure if there was enough room to do my folding and not make it snug. I intend to wear this as far into winter as I can, so I need it to fit over clothes. I added interfacing to both sides as I folded them under so my buttonholes would be secure and I also like to have it on the side where the buttons sit since they will get a lot of action and I wanted them to be secure.


The last time I made a coat, the arms ended up too snug so I thought about that a lot going into this. I knew I needed to line this and it’s a knit so it would give more than my coat did, but the shoulder and armscye were still a big worry for me. I ended up doing a large in the front and back with a medium for the sleeves and I’m surprised it worked out so well. In the hoodie, I do a straight medium and it’s great for a sweatshirt. I knew I wanted a little more room for this to be wearable as we head into winter.
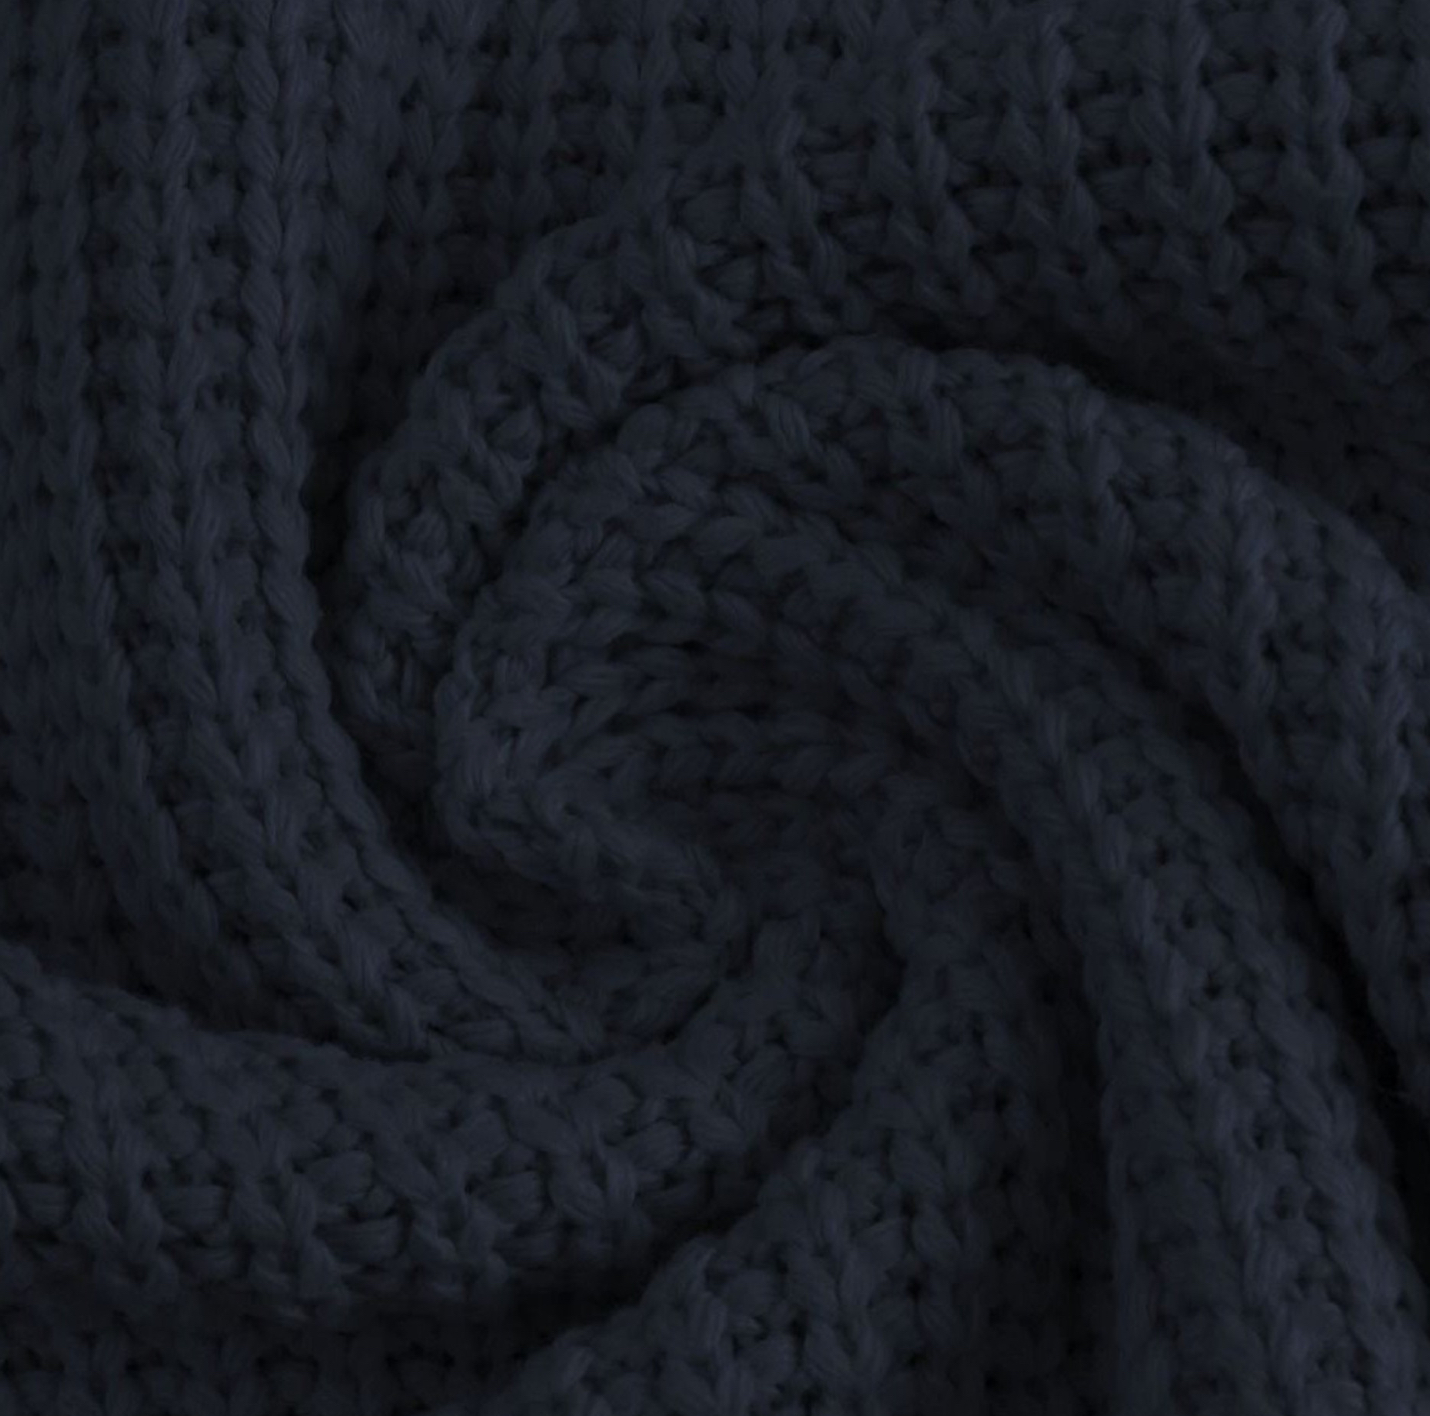
I lined it with a cotton knit with just a little stretch and I think it’s helping everything stay in shape. This jacket is really heavy and I think it could easily run away, but the lining and the binding of some of the seams are keeping a lid on everything. I thought I was going to make the outside, make the lining and then sewing them together and have it all clean with no showing seams. I realized right away this would be more work than I wanted to do and the fabrics stuck together really well so I wasn't going to lose the lining fabric if I tried to use them together as one piece. My initial plan was to bind all of my seams but that got unwieldy at the armscye, so the hood and hems are all I ended up binding because that's all you'll really see anyway.

The hood is lined too. I’ll never wear the hood up but I love the look of the hood when it’s down. I debated putting a channel for ties for the hood but decided it isn’t worth it and I like the cleaner look without the ties hanging down.
The only thing missing is pockets. I couldn’t figure out where I’d put them with the side vents being kind of where I’d want pockets. I’m ok with no pockets. I don’t really put things in my pockets but I like to place my hands there. I can just hook my thumbs in the side vents😂
You might be wondering how well this fabric plus the liner moved through my machines. One serger needle broken, one jeans needle broken and two machines almost thrown in the trash because of buttonholes, but we’re good. My Bernina 350 has an automatic buttonhole but the foot wouldn’t move properly over this fabric so I had to go back to my Bernina 1001 and do it the manual way. I wasn’t pleased because there are A LOT of buttonholes.
I knew buttonholes would be tricky but the trickiest thing was the navy blue with the perfectly matching navy thread. Great idea for final product but a nightmare when trying to rip out thread or just trying to see what you’ve already sewn over when making a buttonhole. I ended up getting blue painters tape and taping down the front so I could draw the buttonhole lines. This was a game changer until the tiny bits of tape got stuck in the thread. I’m still pulling it out😳 Buttonholes were really the only issue I had with this whole jacket.
I wore it for a week without buttons because I didn’t have time to make the buttonholes. It’s much better now that it can stay closed!
This is probably the first time I’ve winged it with a pattern and really had a final result that I had pictured from the beginning. And I’m really glad it was all mostly the one pattern so I wasn’t going too far to make this happen.