
I came upon the Preppy the Whale picture and immediately imagined it in pastels. And as I searched instagram for pictures, I saw that I was not alone. Many pictures are of a pink whale held near a Vineyard Vines sign, with the navy and white stripes that are symbolic of the brand.
K-ster's cousin had a baby a few months ago and I thought this would be the perfect pattern and style for them. The father is from Bermuda, so I of course imagine that all he wears is pastels (don't judge me) and since she is from the Cape, the whales are a nice reminder of home.

If her other patterns are as precise as this one, I would highly recommend you try them.
The actual pattern suggests a layout of the finished whales that scrambled my brain, so I added my own sashing around each whale. This made the blocks approximately 9x13. with 3 inch wide sashes. I say approximately because it depends on how you put the sashing on each block.
I didn't know how many whales I would make because it was kind of a figure it out as I went thing because adding my own sashing meant measurements that weren't predetermined. I knew I wanted to go with the pastel on navy idea, and I stuck with just blues and greens.
The whales take VERY little fabric and this entire quilt was made without buying any fabric. I had to scrimp with the navy on the last couple of blocks but that was because of poor planning.

I originally though 2 columns of 5 would be enough but it really wasn't. I added another column of 5 and then thought 1 more row would make the right size. Because I can't count when I'm near my sewing machines, I ended up making 4 more whales instead of 3.
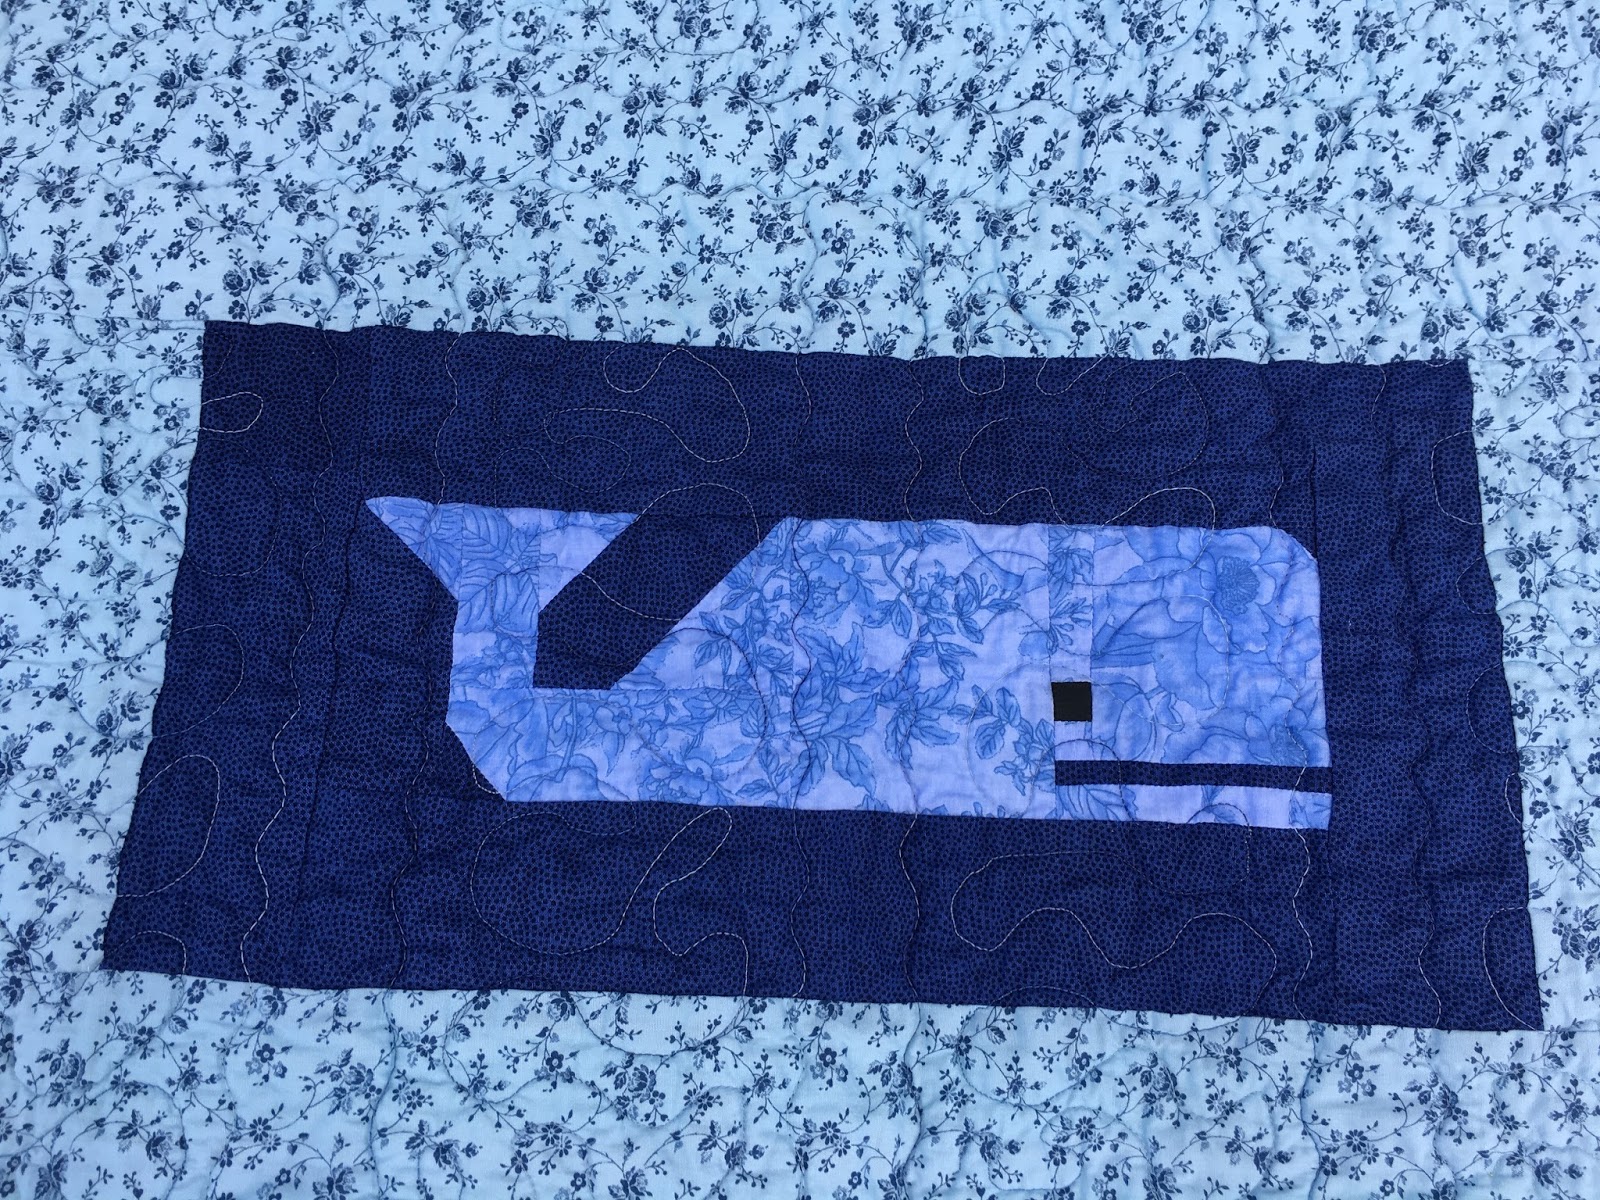
 I know I want to make myself a new school bag with this whale on it, but my extra whale was blue and I don't really want a blue one. I've seen quilt backs that have pieces sewn into them, but given the haphazard way I pin baste and quilt my quilts, I figured if I tried to center the whale on the back, I'd end up with it in a corner, twisted and crooked.
 Surprise, surprise, it remained where I put it and when I look at the quilting, it's not bad. Nothing folded and nothing is too skewed.
Trying to do the math to figure out how to get a strip in there with the whale in the middle took some finagling but I'm really happy with that.
I thought I'd use my new Bernina Cotton and Steel 350 to do all of the quilting but I didn't realize it didn't come with any feet I can use for free motion quilting and my feet for my old Bernina 1001 won't work on it. I really want to try something new with free motion quilting and the wavy stitch that I use most of the time when I quilt, so I pulled out my old machine and set it to work.
I free motion quilted the whales in a pale green and I did my famous wavy stitch on the navy, with navy.


For the border, I used the same fabrics I used for the whales, cut at random lengths. The backing was a great fabric because it's busy, so if there are quilting mishaps, only the most savvy quilter will see them. The binding is a fabric I didn't use in the quilt because I found it in my mother's stash after everything was done. I really like the color and I think it ties it all together.
I'm fairly new to free motion quilting and I've always been so afraid to do it because of the fabric rippling or folding on the back. Maybe because I use a million basting pins, or maybe because I don't think about it too hard, or maybe it's just luck, but it seems to be working lately. It's a lot easier than wrestling a whole quilt through my machine, as you can see here.
I was so pleased with how this quilted and how quickly it went, I've already laid out and basted a quilt top I made a while back that I've been dreading quilting. It's red and white, so what I will use for thread and how I will go about it is my current fascination.
Linking here:
http://www.sewcando.com/2017/07/summer-swing-craftastic-monday-link.html
http://www.skiptomylou.org
https://www.pluckys-secondthought.com/cooking-and-crafting-with-j-j-link-up-105-and-features/
No comments:
Post a Comment
I love comments almost as much as I love summer. I reply to all comments except those ridiculous anonymous comments offering me dirty deeds and real estate. When you leave your comment, please make sure your own settings will allow me to reply to you. Nothing makes me sadder than replying to your comments and then realizing it’s going to the no-reply@blogger address!