 It's been high time for some new cat beds for over a year. I made some last year that were fleece but I made the horrible mistake of using black fleece which is too much of a magnet for everything, not just cat hair. I should have thrown them away after the first time they used them.
I also did a terrible job trying to make the covers removable and they were just a hot mess.
I saw this idea for fleece sleeping bags that they could crawl into and I thought that would be fun and easy. And then I remembered these cats like to stomp down any kind of bed that I've ever bought where they were supposed to climb in and hide, so after I started my planning, I changed course. My edited on the fly design makes a lot more sense for these bed stomping fools.
In my mind, each bed would house a cat and they'd sleep the nights away all curled up in row but it's rare that all 3 of them sleep in them at the same time. And nighttime is high time for shenanigans so they have no time for sleeping.
They've never had designated beds. They seem to allow each other to sleep in whichever bed they come upon. This maximizes getting ALL of the hair all evenly over ALL of the beds.
The tutorial on the site gave me enough to get started and then I went a little nuts.

The tutorial already had the math done for me but I wanted a bigger circle, so I had to redo the math. Get yourself a pen and paper because I'm going to share the simple formula: take the diameter of the circle (that's the line across the circle) and multiply it times pi (3.14). Factor in how much of a seam you're going to add when you sew the piece together and there you have it.
When I bought the fleece that I thought would be a better color to hide some of the cat hair, there were two bolts that had the same print but neither had the 3 yards that I wanted. I took them both to the cutting counter and said I would need 3 one yard pieces, however she wanted to make that happen.
The next thing I knew, she had cut me 3 one yard pieces and I was shocked.
Many years ago, at that very cutting counter, I needed to buy a lot of batting for some pillow quilts I was making with students. I told the woman I would like it cut in 2 yard increments and she very sternly told me she would not do that because that was making her do my work. I said "if I walk in a bunch of times and get 2 yards each time, you'd have to do that, right? So why can't you do this for me here, where you have all this space and the ease of rolling it out?" She refused and said they don't do that.Apparently in 2025, they do!
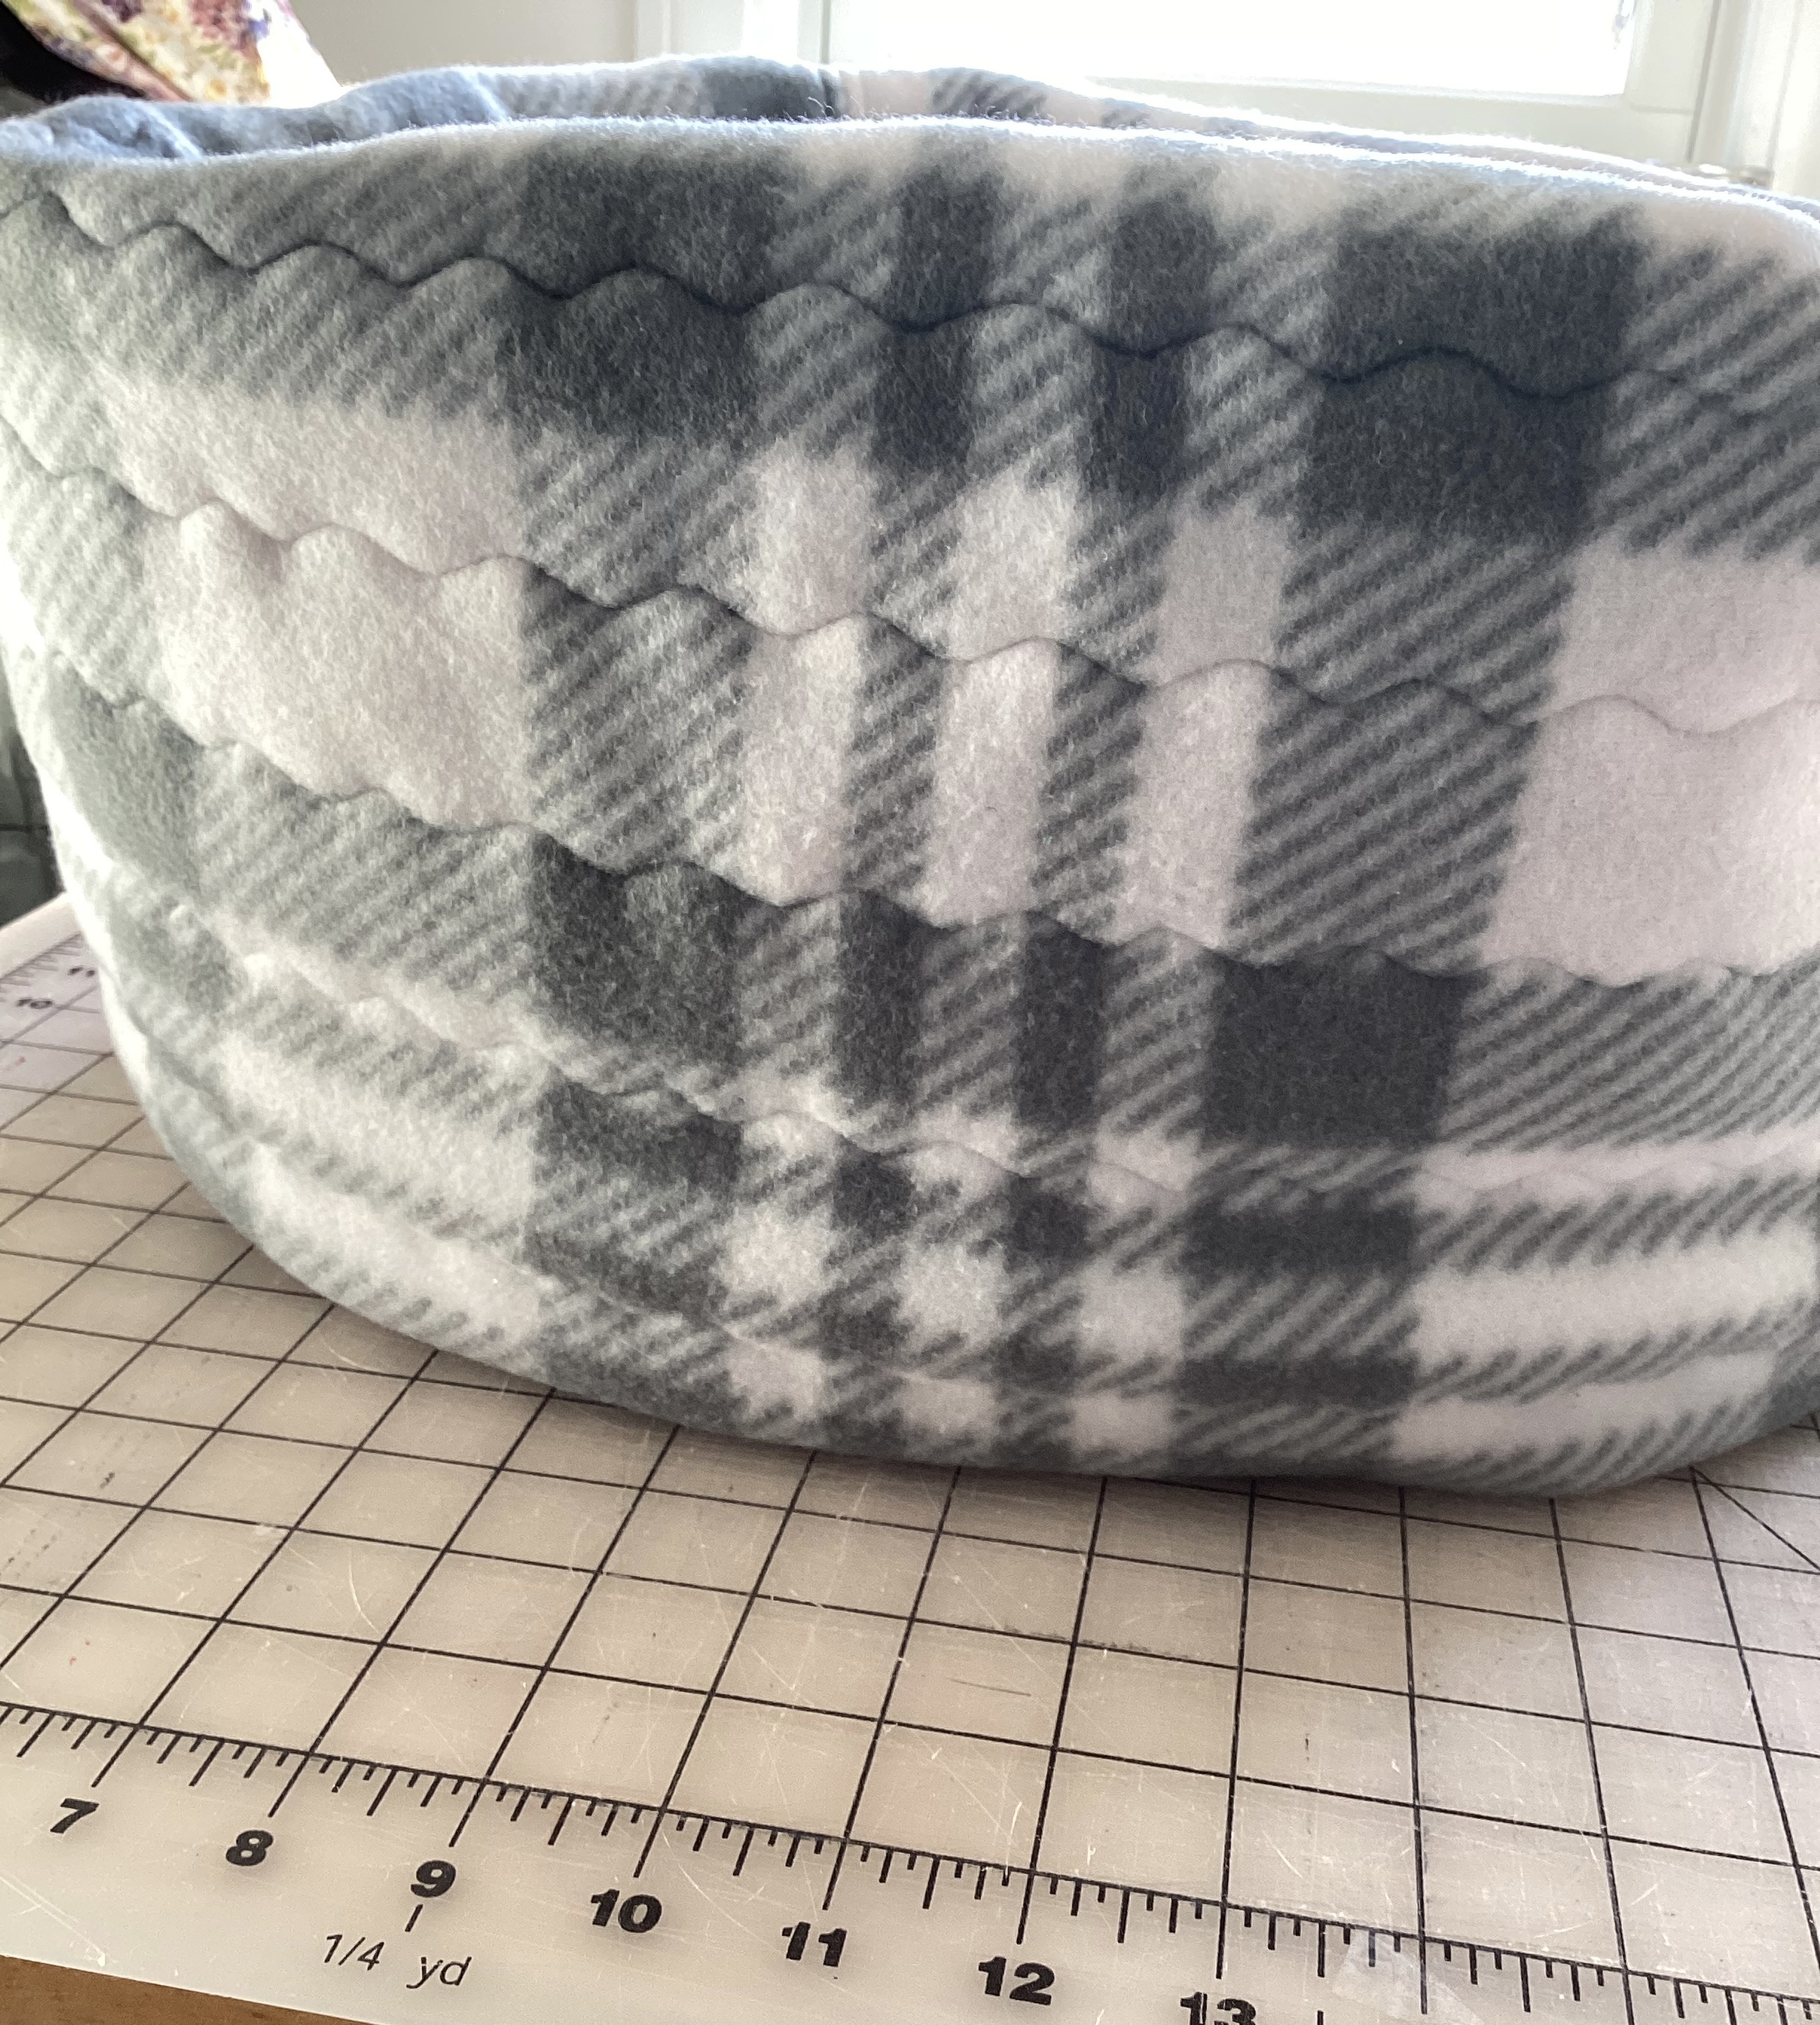
I happened to have some felt left over from a costume I made a long time ago, so I got it out, did some more math and put it between the layers of fleece. But... never turning down an option to make an easy project that much harder and more time consuming, I decided to quilt the layers together. That way, the felt won't shift around and when they get washed, everything should stay where it belongs and hold up over time.


No comments:
Post a Comment
I love comments almost as much as I love summer. I reply to all comments except those ridiculous anonymous comments offering me dirty deeds and real estate. When you leave your comment, please make sure your own settings will allow me to reply to you. Nothing makes me sadder than replying to your comments and then realizing it’s going to the no-reply@blogger address!